


Solve mud in minutes with MUDGRIDS
1.
Preparation
Level the ground by flattening bumps and filling holes. Lay down the first row of MUDGRIDS across the full length of the area to be covered.
Important: Leave an expansion gap of at least 0.5cm. Space should also be left between the grids and buildings or edging structures.
2.
Laying + Cutting
The second row of grids should be staggered against the first by using half a grid at the beginning. Grids can easily be cut by skill saw.
Cutting: MUDGRIDS are easily cut with skill saws, bench saws, panel saws or jig saws. Other power tools may also be appropriate.
Inserting: When laying down MUDGRIDS, a crowbar or shovel can give helpful leverage - but do not apply too much force. The grids should fit loosely together to avoid high tensions during extreme hot or cold weather.
3.
Continue Laying
Our MUDGRIDS make it easy to cover even large areas relatively quickly. Although the grids adapt well to uneven ground, level ground gets the best results.
Tip: A substrate like sand can be used to level the grids out. Even after installation, substrate can fill gaps and dips by using a leverage action.
4.
Sand Filling
Once the MUDGRIDS have been laid out, fill the holes with washed sand or another water-permeable material. For general use, but especially with all-season open stabling, we recommend a finishing layer of at least 3cm.
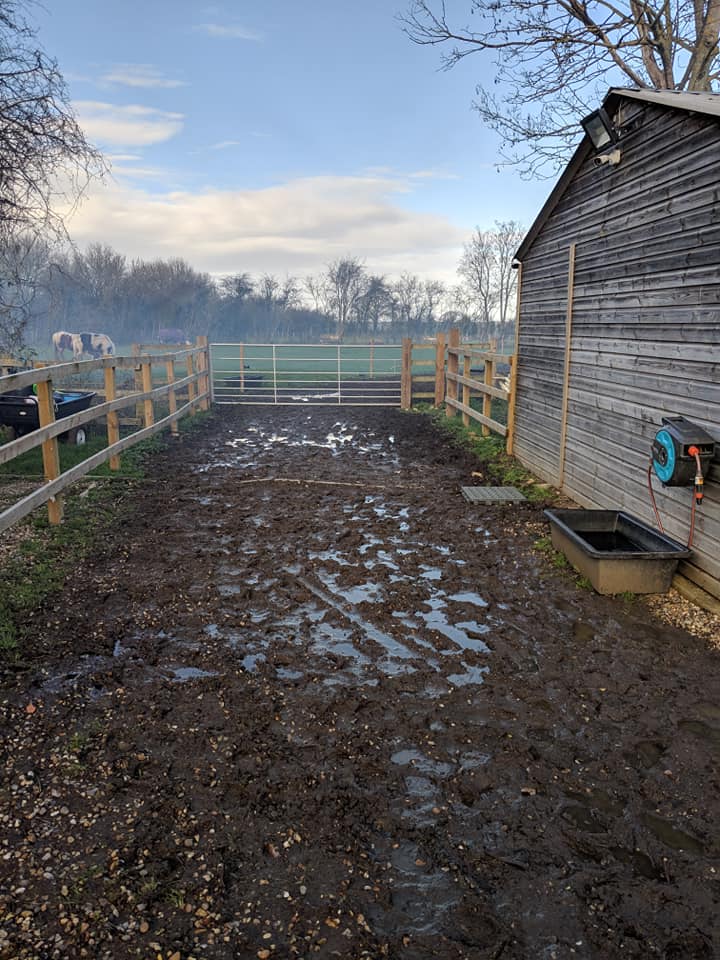
Before
Before MUDGRIDS installation

After
After a quick and easy installation.
